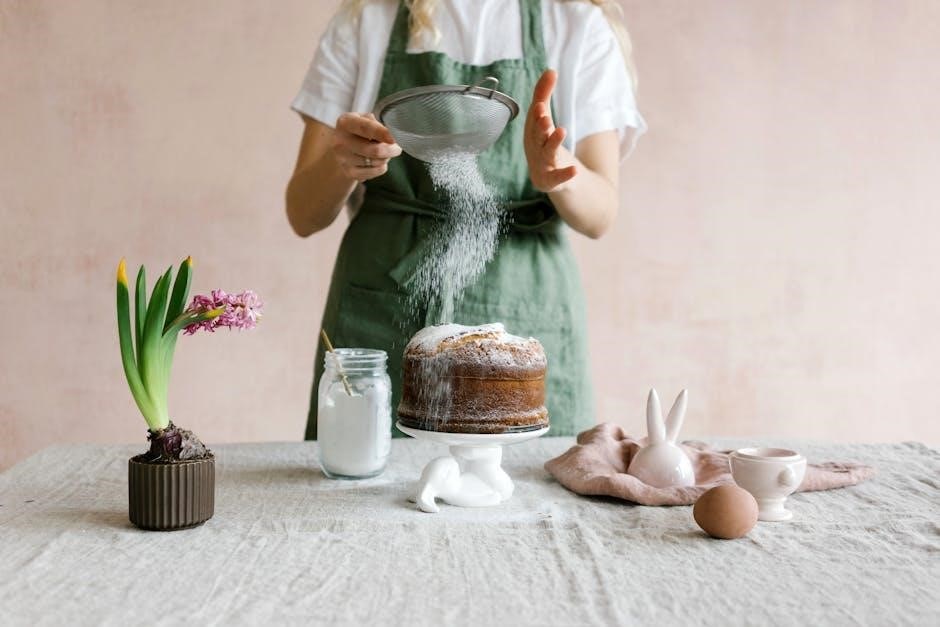
The Wilton Bunny Cake Pan is a popular choice for creating adorable Easter bunny cakes. Perfect for both beginners and experienced bakers, it ensures a delightful and professional result.
1.1 Overview of the Wilton Bunny Cake Pan
The Wilton Bunny Cake Pan is a beloved tool for creating charming Easter bunny cakes. Designed with a non-stick coating, it ensures easy cake release and clean-up. Its durable construction makes it long-lasting and perfect for frequent use. The pan features a detailed bunny design, resulting in a professional-looking cake. It’s ideal for both beginners and experienced bakers, offering a fun way to celebrate Easter. The pan’s size and shape allow for even baking, ensuring a moist and perfectly formed bunny cake every time. A great addition to any Easter celebration!
1.2 Popularity of the Wilton Bunny Cake Pan for Easter Celebrations
The Wilton Bunny Cake Pan is a favorite among bakers for Easter celebrations due to its ease of use and adorable results. Its non-stick design and detailed bunny shape make it a must-have for creating festive desserts. Customers praise its durability and straightforward instructions, making it perfect for both novice and experienced bakers. The pan is widely recommended for Easter gatherings, offering a fun and professional way to create memorable bunny cakes that delight both kids and adults. Its popularity stems from its ability to combine simplicity with creativity.
Materials and Tools Needed
Gather essential items like the Wilton Bunny pan, non-stick spray, flour, cake mix, oven, baking sheet, foil-wrapped cake board, and decorating tools for a seamless experience.
2.1 Wilton Bunny Cake Pan
The Wilton Bunny Cake Pan is a specially designed bakeware featuring a bunny shape, ideal for creating themed cakes. It holds approximately 4-6 cups of batter, ensuring a generous size for celebrations. The pan’s design includes a steam hole on one side, which should be placed on top during baking to ensure even cooking. This pan is durable, easy to use, and perfect for both single and two-layer Easter bunny cakes.
2.2 Non-Stick Spray and Flour for Preparing the Pan
Prepping the Wilton Bunny Cake Pan is essential for a smooth baking experience. Lightly coat the inside with non-stick spray to prevent sticking. Next, dust the pan evenly with flour, ensuring all surfaces are covered. This step guarantees the cake will release effortlessly after baking. Proper preparation avoids cracks and ensures a clean, intact bunny shape for decorating. Make sure to tap out any excess flour for an even finish before pouring in the batter.
2.3 Cake Mix or Recipe Ingredients
For the Wilton Bunny Cake Pan, use a 2-layer cake mix or your preferred recipe ingredients. Prepare the batter according to the mix instructions or recipe directions. Ensure the mix is suitable for the pan size, typically requiring 4-6 cups of batter. If using a recipe, measure ingredients accurately for the best results. The batter should be smooth and well-mixed before pouring into the prepared pan. Proper preparation ensures the cake bakes evenly and retains its bunny shape. Follow the instructions carefully for a flawless outcome.
2.4 Baking Essentials (Oven, Baking Sheet, etc.)
Preheat your oven to 350°F for baking. Place the Wilton Bunny Pan on a baking sheet to ensure even cooking and easy handling. A baking sheet also catches any batter overflow, preventing mess. Use a long toothpick or cake tester to check doneness through the steam hole. Essential tools include oven mitts and a wire rack for cooling. Proper baking essentials ensure a smooth process and perfect cake results. Gather all items beforehand for efficient baking and decorating. This setup guarantees a successful Easter bunny cake creation every time.
2.5 Decorating Tools (Icing, Piping Bags, Tips)
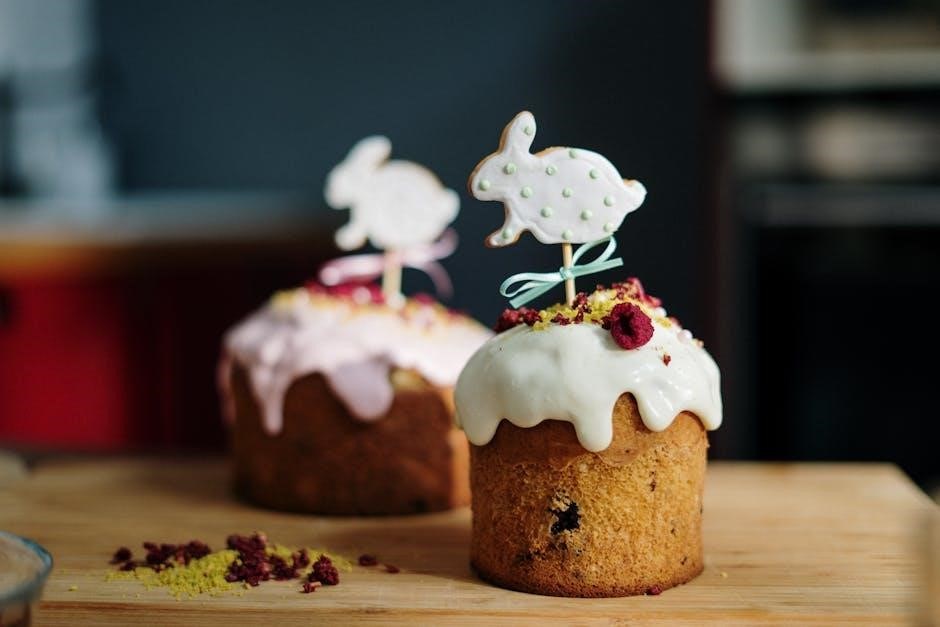
Essential decorating tools include pink icing for the nose and ears, black icing for eyes and whiskers, and white icing for the mouth and teeth. Use piping bags fitted with tips like round or star tips for detailed work. A star tip is ideal for creating decorative borders or textures. Ensure all icings are prepared and colored before starting. These tools help achieve a professional and adorable finish for your Easter bunny cake, making it a standout centerpiece for celebrations.
Preparation Steps
Preheat oven to 350°F, coat the Wilton Bunny Pan with non-stick spray and dust with flour. Prepare cake batter according to recipe instructions for a smooth start.
3.1 Preheating the Oven to 350°F
Preheating the oven to 350°F is the first step in preparing to bake. Ensure the oven is fully preheated before pouring the batter into the Wilton Bunny Pan. Allow the oven to reach the correct temperature for about 10-15 minutes to guarantee even baking. A preheated oven helps the cake rise properly and prevents it from sinking or cooking unevenly. Proper preheating is crucial for achieving a light and fluffy texture in your Easter bunny cake.
3.2 Coating the Pan with Non-Stick Spray and Dusting with Flour
Coat the inside of the Wilton Bunny Pan with non-stick spray to prevent the cake from sticking. Lightly dust the pan with flour, ensuring an even layer. This step is crucial for easy cake removal and a smooth finish. Gently tap out any excess flour to avoid residue. Proper preparation ensures the cake releases cleanly after baking, maintaining its shape and details. This method is recommended for best results when using the Wilton Bunny Cake Pan.
3.3 Preparing the Cake Batter According to Recipe Instructions
Prepare the cake batter by following the recipe or mix instructions. For a 2-layer cake mix, combine the ingredients as directed; The pan typically holds 4-6 cups of batter, equivalent to one box mix. Ensure the batter is well-mixed and smooth. Pour the batter into the pan, filling it approximately 2/3 full for optimal results. This step ensures the cake bakes evenly and fits perfectly into the Wilton Bunny Pan design.
Baking the Cake
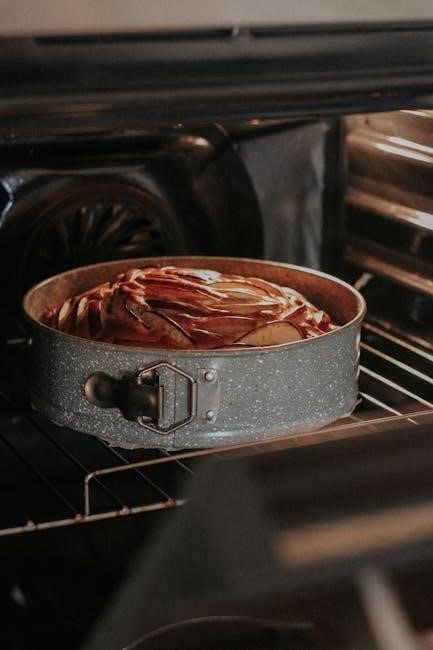
Preheat the oven to 350°F. Place the Wilton Bunny Pan on a baking sheet. Bake for 50-55 minutes. Use a toothpick to ensure it’s fully baked.
4.1 Pouring the Batter into the Wilton Bunny Pan
Pour the prepared cake batter into the Wilton Bunny Pan, ensuring the side with the steam hole is facing up. Fill the pan about 2/3 full to avoid overflow during baking. Use a spatula to spread the batter evenly, making sure to fill all details of the bunny shape. This step is crucial for achieving a well-defined bunny cake. Properly aligning the pan and filling it correctly helps prevent cracking and ensures the cake bakes evenly and retains its shape.
4.2 Baking Time and Temperature (50-55 Minutes at 350°F)
Preheat your oven to 350°F and bake the bunny cake for 50-55 minutes. Place the Wilton Bunny Pan on a baking sheet to ensure even baking and prevent overflow. The cake is done when a toothpick inserted through the steam hole comes out clean and the edges are golden brown. Avoid overbaking, as it can cause cracking. Let the cake cool in the pan for a few minutes before transferring it to a wire rack to cool completely. Proper baking ensures a moist and perfectly shaped bunny cake.
4.3 Ensuring the Cake is Fully Baked (Toothpick Test)
To confirm the cake is fully baked, insert a long toothpick or cake tester through the steam hole in the bunny pan. If it comes out clean, the cake is ready. Avoid overbaking, as this can cause cracking. If using a cake tester, ensure it reaches the deepest part of the bunny shape. Once baked, let the cake cool slightly in the pan before transferring it to a wire rack to cool completely. This ensures the cake retains its shape and moisture.
Cooling and Handling the Cake
Allow the cake to cool completely in the pan before handling. Once cooled, transfer it to a foil-wrapped cake board for stability and easy decorating.
5.1 Allowing the Cake to Cool Completely
Cooling is essential for handling the bunny cake successfully. Let the cake cool entirely in the pan to prevent cracking or breaking. Once baked, remove from the oven and allow it to cool in the pan for about 10 minutes. Then, carefully transfer it to a foil-wrapped cake board, cut to fit the bunny shape. Let it cool completely before decorating. This step ensures the cake sets properly and avoids damage during handling or frosting application.
5.2 Transferring the Cake to a Foil-Wrapped Cake Board
Once the bunny cake has cooled slightly, carefully transfer it to a foil-wrapped cake board. Ensure the board is cut to match the bunny shape for proper fit. Gently lift the cake using a spatula or tongs, taking care not to crack or break it. Place it centered on the foil-wrapped board. Allow the cake to cool completely before decorating. This step ensures the cake is stable and ready for frosting and embellishments, maintaining its shape for a professional finish. Proper handling prevents damage to the bunny design.
Decorating the Bunny Cake
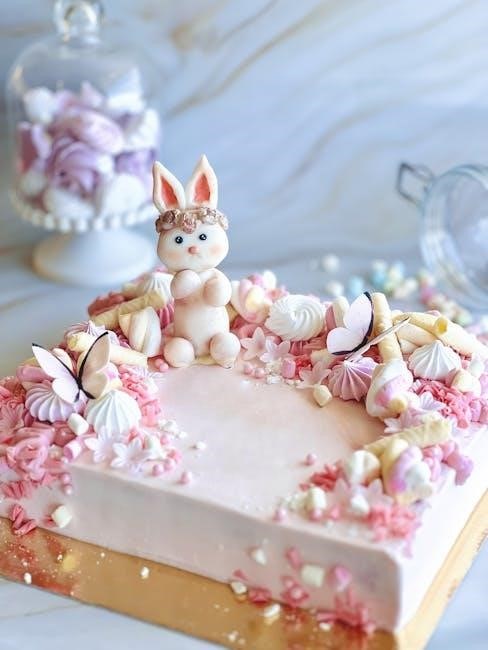
Transform your bunny cake with vibrant icing colors. Use pink icing for the nose and ears, black for eyes and whiskers, and white for the mouth and teeth. Add decorative details using a star tip for a professional finish. Ensure all icing is spread smoothly and evenly for a polished look. Allow icing to set before serving to maintain the design.
6.1 Using Pink Icing for the Nose and Inside the Ears
Start by piping pink icing onto the bunny’s nose and inside the ears using a piping bag fitted with a fine tip. Apply gentle pressure for smooth coverage. Use a toothpick or small knife to blend the icing edges for a seamless look. Ensure the icing is spread evenly to create a natural appearance. Allow the pink icing to set slightly before adding other details. This step brings the bunny’s features to life, making it look cheerful and festive. Keep the icing consistency thick for clean, defined lines.
6.2 Applying Black Icing for the Eyes and Whiskers
Use black icing to create the bunny’s eyes and whiskers. Pipe small, round dots for the eyes, ensuring symmetry for a balanced look. For the whiskers, draw thin, straight lines extending from the nose area. Use a piping bag with a fine tip for precision. Keep the icing thick to avoid spreading. Let the icing set slightly before handling the cake. This step adds personality and defines the bunny’s facial features, making it look lively and ready for Easter celebrations.
6.3 Adding White Icing for the Mouth and Teeth
Complete the bunny’s face by adding white icing for the mouth and teeth. Pipe a small, curved line below the nose for the mouth. For the teeth, add tiny white dots or a thin line, depending on the desired detail. Use a piping bag with a fine tip for precision. Keep the icing thick to maintain shape. Allow it to set slightly before handling the cake. This step adds a charming smile, enhancing the bunny’s friendly appearance for Easter celebrations. Ensure the icing is smooth and evenly applied for a polished finish.
6.4 Piping Star Tip Details for a Decorative Finish
Enhance your bunny cake with a star tip for a festive touch. Use a piping bag fitted with a star tip to create borders, rosettes, or textured accents. Pipe along the edges of the cake or around the ears for a decorative finish. Apply gentle, consistent pressure to form even stars. This adds a professional and celebratory look to your Easter bunny cake. Experiment with different star sizes for varied effects, ensuring a smooth and polished final appearance. This step elevates the cake’s visual appeal, making it perfect for holiday displays.
Tips for Achieving the Perfect Bunny Cake
Fill the pan 2/3 full, ensure the steam hole faces up, and wire the halves securely. These steps guarantee a perfectly shaped and evenly baked bunny cake.
7.1 Filling the Pan to the Correct Level (2/3 Full)
Filling the Wilton Bunny Cake Pan to 2/3 of its capacity is crucial for optimal results. Overfilling can lead to uneven baking and potential overflow during cooking, while underfilling may result in a smaller cake than desired. Ensure the batter reaches just below the pan’s rim on the side with the bunny’s face to achieve the perfect shape and size. This step is essential for maintaining the cake’s structural integrity and appearance.
7.2 Ensuring the Side with the Steam Hole is on Top
Placing the side of the Wilton Bunny Cake Pan with the steam hole facing upward is essential for even baking and to prevent batter leakage. This orientation ensures proper air circulation and helps the cake bake uniformly. By positioning the steam hole on top, you avoid any excess batter spilling over during baking, which could disrupt the bunny’s shape. This step is crucial for achieving a perfectly formed and visually appealing Easter bunny cake that retains its adorable details after baking.
7.3 Wiring the Two Halves of the Pan Together
Securing the Wilton Bunny Cake Pan’s two halves with wire ensures stability during baking and prevents the cake from breaking apart. To do this, wrap a sturdy cake wire around the edges where the two halves meet, ensuring they are tightly aligned. This step is crucial for maintaining the cake’s integrity, especially when handling or moving it after baking. The wire helps keep both halves together, ensuring your Easter bunny cake stays intact and looks perfect for decorating and serving.
Using a Two-Layer Cake Mix
A two-layer cake mix is ideal for creating a bigger Easter bunny cake. Prepare the batter as directed, ensuring enough mixture to fill the pan properly.
8.1 Preparing the Batter for a Two-Layer Cake
For a two-layer Easter bunny cake, prepare the batter according to the mix instructions or your recipe. Ensure the batter volume is sufficient to fill the pan properly. Measure accurately to avoid underfilling or overfilling, which can lead to uneven baking. If using a mix, follow the package directions for combining ingredients. For homemade recipes, double the ingredients to create enough batter for two layers. This step ensures a moist and evenly baked bunny cake, perfect for decorating later.
8.2 Pouring the Batter into the Pan
After preparing the batter, carefully pour it into the Wilton Bunny Cake Pan. Fill the pan to about 2/3 of its capacity to allow for even rising. Ensure the side with the steam hole faces upward for proper airflow. Use a spatula to spread the batter evenly, covering all details of the bunny design. Avoid overfilling to prevent overflow during baking. Place the pan on a baking sheet for added stability. This step ensures a well-shaped and detailed bunny cake, ready for baking and decorating.
Baking for Larger Gatherings
For larger gatherings, consider making multiple cakes using the Wilton Bunny Pan. Bake in batches and adjust time slightly for larger quantities to ensure even cooking. Use two-layer cake mixes for bigger servings to accommodate more guests easily.
9.1 Making Multiple Cakes for Events
Making multiple cakes with the Wilton Bunny Pan is ideal for large events. Simply prepare the batter in batches and pour into the pan, ensuring each is filled to the recommended 2/3 level. Bake each cake separately at 350°F for 50-55 minutes. This method allows you to create several bunny cakes efficiently, perfect for Easter gatherings or parties. Using a two-layer mix can also increase yield, ensuring enough treats for all your guests. This approach guarantees each cake is perfectly baked and decorated.
9.2 Adjusting Bake Time for Larger Batches
When baking multiple cakes in larger batches, monitor the bake time closely. For standard batches, bake at 350°F for 50-55 minutes. However, for larger quantities, you may need to adjust the time slightly. Ensure the oven isn’t overcrowded, as this can affect even baking. Check the cakes periodically near the end of the recommended time to avoid overbaking. Use a toothpick to test doneness, ensuring it comes out clean when inserted. Proper adjustment ensures each cake is perfectly baked, maintaining the iconic bunny shape and texture.
Common Issues and Solutions
Common issues include cracking or uneven baking. Ensure proper pan preparation and avoid overmixing batter. Monitor baking time to prevent underbaked or overbaked results.
10.1 Preventing the Cake from Cracking
To prevent cracking, ensure the pan is properly greased and floured. Avoid overmixing the batter, as this can create air pockets. Bake on a stable, even surface and let the cake cool completely in the pan before transferring it to a cooling rack. This helps maintain the cake’s structure and prevents cracks from forming during the cooling process.
10.2 Avoiding Underbaked or Overbaked Cakes
Ensure your cake is neither underbaked nor overbaked by adhering to the recommended baking time of 50-55 minutes at 350°F. Check doneness by inserting a toothpick near the steam hole; it should come out clean. Avoid opening the oven too early, as this can cause the cake to sink. Rotate the pan halfway through baking for even cooking. Let the cake cool slightly before removing it from the pan to prevent breaking and ensure a perfectly baked Easter bunny cake.
Cleaning and Maintaining the Wilton Bunny Pan
Wash the pan with mild soap and warm water. Avoid abrasive materials to prevent scratching. Dry thoroughly after cleaning to maintain its non-stick surface and longevity.
11.1 Proper Cleaning Techniques
Wash the Wilton Bunny Pan with mild soap and warm water using a soft sponge or cloth. Avoid abrasive cleaners or scourers, as they may damage the non-stick coating. For tough residue, soak the pan in warm soapy water before cleaning. Dry thoroughly after washing to prevent rust or water spots. Regular maintenance ensures the pan remains in excellent condition for future use.
11.2 Storing the Pan After Use
After cleaning and drying, store the Wilton Bunny Pan in a dry place to prevent rust. Avoid stacking heavy objects on it to maintain its shape. For added protection, place a soft cloth or paper towel between layered pans. Store in a cool, dry area away from direct sunlight to preserve the non-stick finish. Proper storage ensures the pan remains in great condition for future Easter celebrations.
The Wilton Bunny Cake Pan offers a fun and easy way to create adorable Easter bunny cakes. Its design ensures professional results, making it a must-have for Easter celebrations.
12.1 Summary of the Wilton Bunny Cake Pan Instructions
The Wilton Bunny Cake Pan instructions guide users through a simple process: preheat the oven to 350°F, coat the pan with non-stick spray and flour, prepare the cake batter, and bake for 50-55 minutes. Once baked, allow the cake to cool completely before transferring it to a foil-wrapped cake board. Decorating involves using pink, black, and white icing for details like the nose, eyes, and mouth. The pan is designed for ease of use, ensuring a professional-looking bunny cake perfect for Easter celebrations.
12.2 Final Tips for a Successful Bunny Cake
For a flawless bunny cake, ensure the pan is filled to 2/3 capacity and the steam hole side is on top. Wire the pan halves securely and bake at 350°F for 50-55 minutes. Allow the cake to cool completely before decorating. Use pink icing for the nose and ears, black for eyes and whiskers, and white for the mouth and teeth. Pipe star-tip details for a polished finish. Following these steps ensures a adorable and professional-looking Easter bunny cake every time.
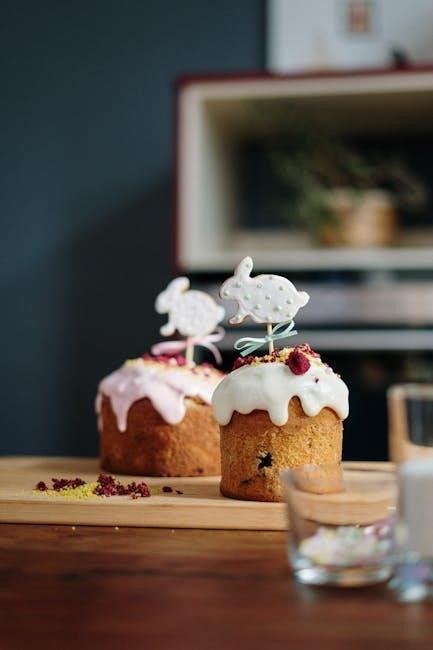
Customer Testimonials and Reviews
Customers praise the pan’s ease of use and durability. Many highlight its perfect results for Easter celebrations, making it a must-have for festive baking enthusiasts everywhere.
13.1 Positive Feedback on Ease of Use
Customers rave about the Wilton Bunny Cake Pan’s user-friendly design. Many find it simple to prepare and bake, with clear instructions ensuring a flawless Easter bunny cake. The non-stick surface and detailed shape make baking and decorating effortless; Users appreciate how it holds the perfect amount of batter, preventing overflow. The pan’s durability and easy cleanup also receive high praise, making it a top choice for both novice and experienced bakers alike during the holiday season.
13.2 Recommendations for Easter Celebrations
The Wilton Bunny Cake Pan is highly recommended for Easter celebrations, offering a charming centerpiece for family gatherings. Its festive design and easy decorating options make it ideal for creating memorable desserts. Many users suggest pairing it with vibrant icings and creative toppings to enhance the Easter theme. The pan’s versatility ensures it’s a crowd-pleaser, making it a must-have for anyone looking to add a delightful touch to their holiday festivities and traditions.
Additional Resources
Find decorating tutorials and recipe ideas online to enhance your Wilton Bunny Cake Pan experience. These resources offer creative inspiration and step-by-step guides for perfect results.
14.1 Where to Find Decorating Tutorials
Decorating tutorials for the Wilton Bunny Cake Pan can be found on platforms like YouTube, Pinterest, and Wilton’s official website. These resources provide step-by-step guides
for creating intricate designs, such as piping techniques and icing application. Tutorials often include tips for using pink icing for the nose, black icing for eyes,
and white icing for the mouth and teeth. Additionally, they cover how to achieve a professional finish with piping bags and star tips, making it easier
for both beginners and experienced bakers to create stunning Easter bunny cakes.
14.2 Recommended Recipes for the Wilton Bunny Pan
Recommended recipes for the Wilton Bunny Pan include classic vanilla, carrot, or red velvet cake mixes. For a two-layer cake, follow package instructions or recipes specifically
designed for this pan. Ensure the batter is prepared according to directions, filling the pan about 2/3 full. Bake at 350°F for 50-55 minutes. You can also find detailed
recipes on Wilton’s website, Pinterest, or baking blogs. These recipes often include tips for achieving the best flavor and texture, ensuring your bunny cake turns out moist
and delicious for Easter celebrations.